NOT ALL RETREADS ARE CREATED EQUAL. HERE'S PROOF.
Proven processes, technology and expertise make all the difference, along with the knowledge that turnaround time is vitally important. Explore our 7-Step Retread Process, and know that we continually evaluate our products through laboratory testing and actual use to determine the effects of compound and tread design in a real-world environment.
RETREAD PROCESS
TAP ICONS TO VIEW STEPS
1: INITIAL
INSPECTION
2: BUFFING
3: REPAIR
4: EXTRUSION
5: TREAD
BUILDING
6: ENVELOPING
& CURING
7: FINAL
INSPECTION
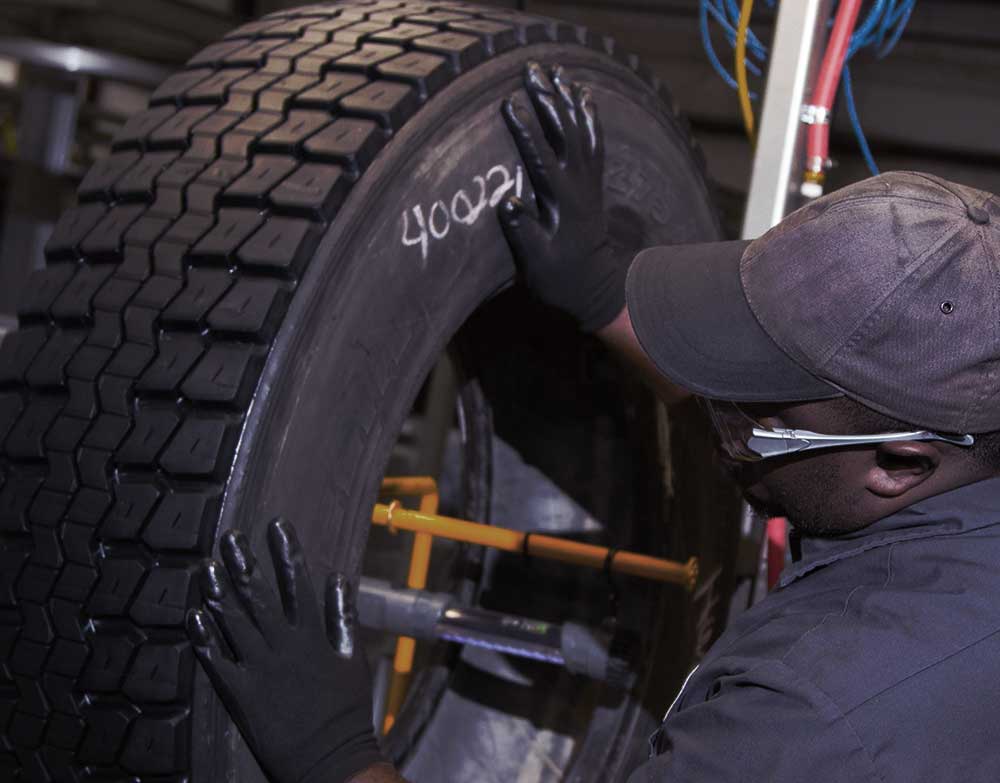
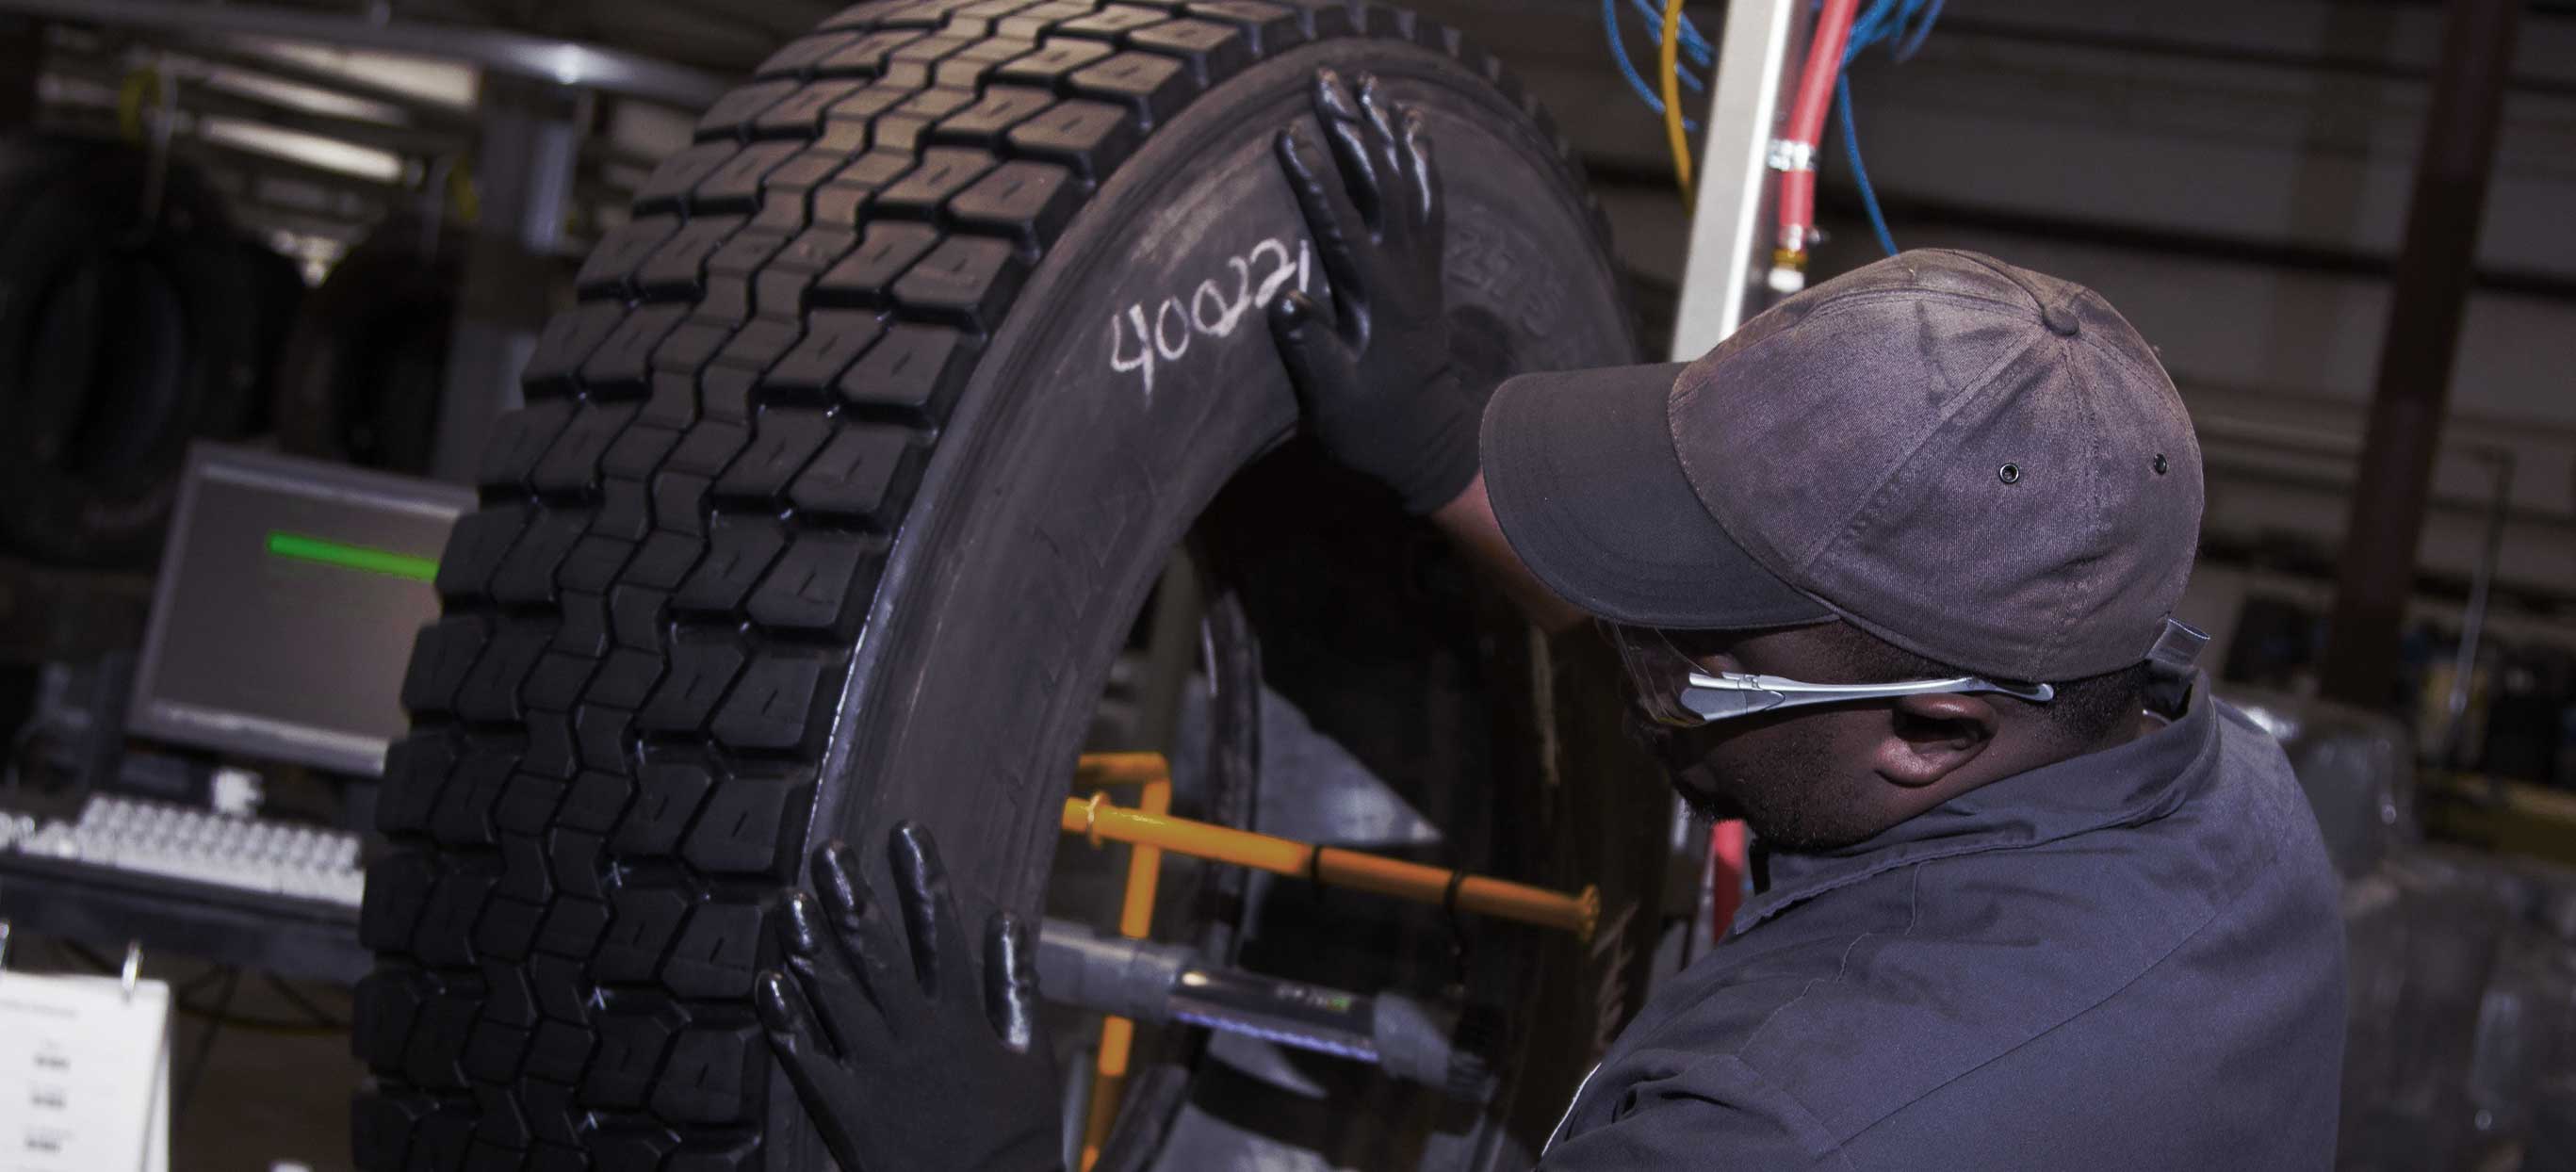
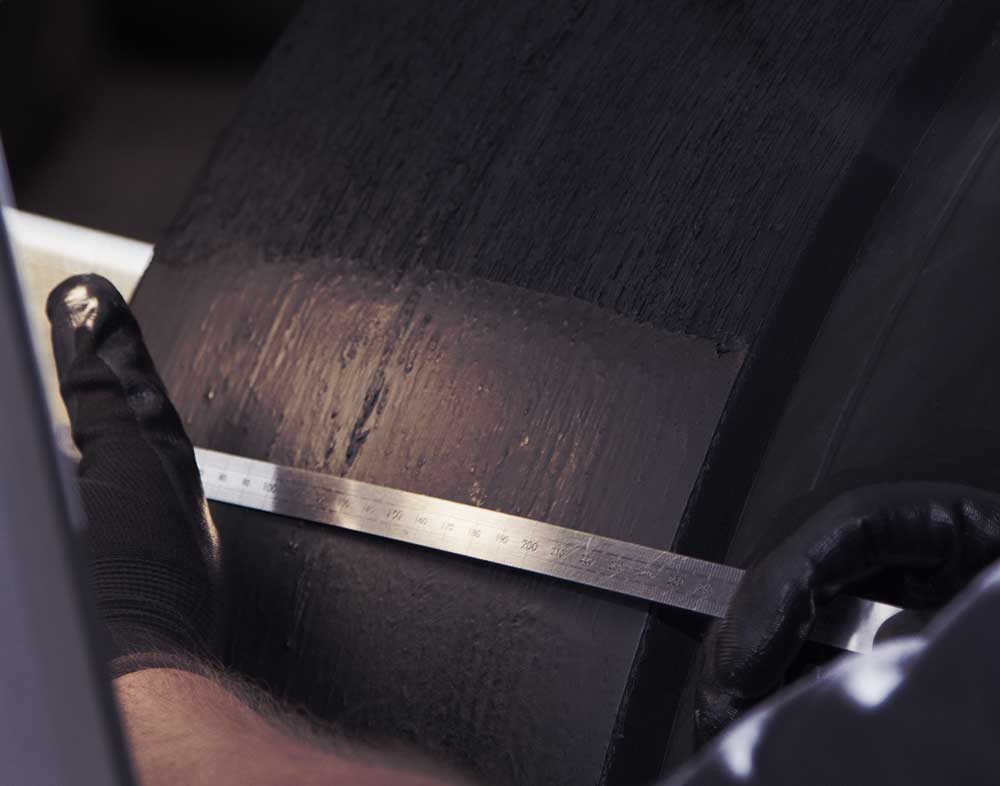
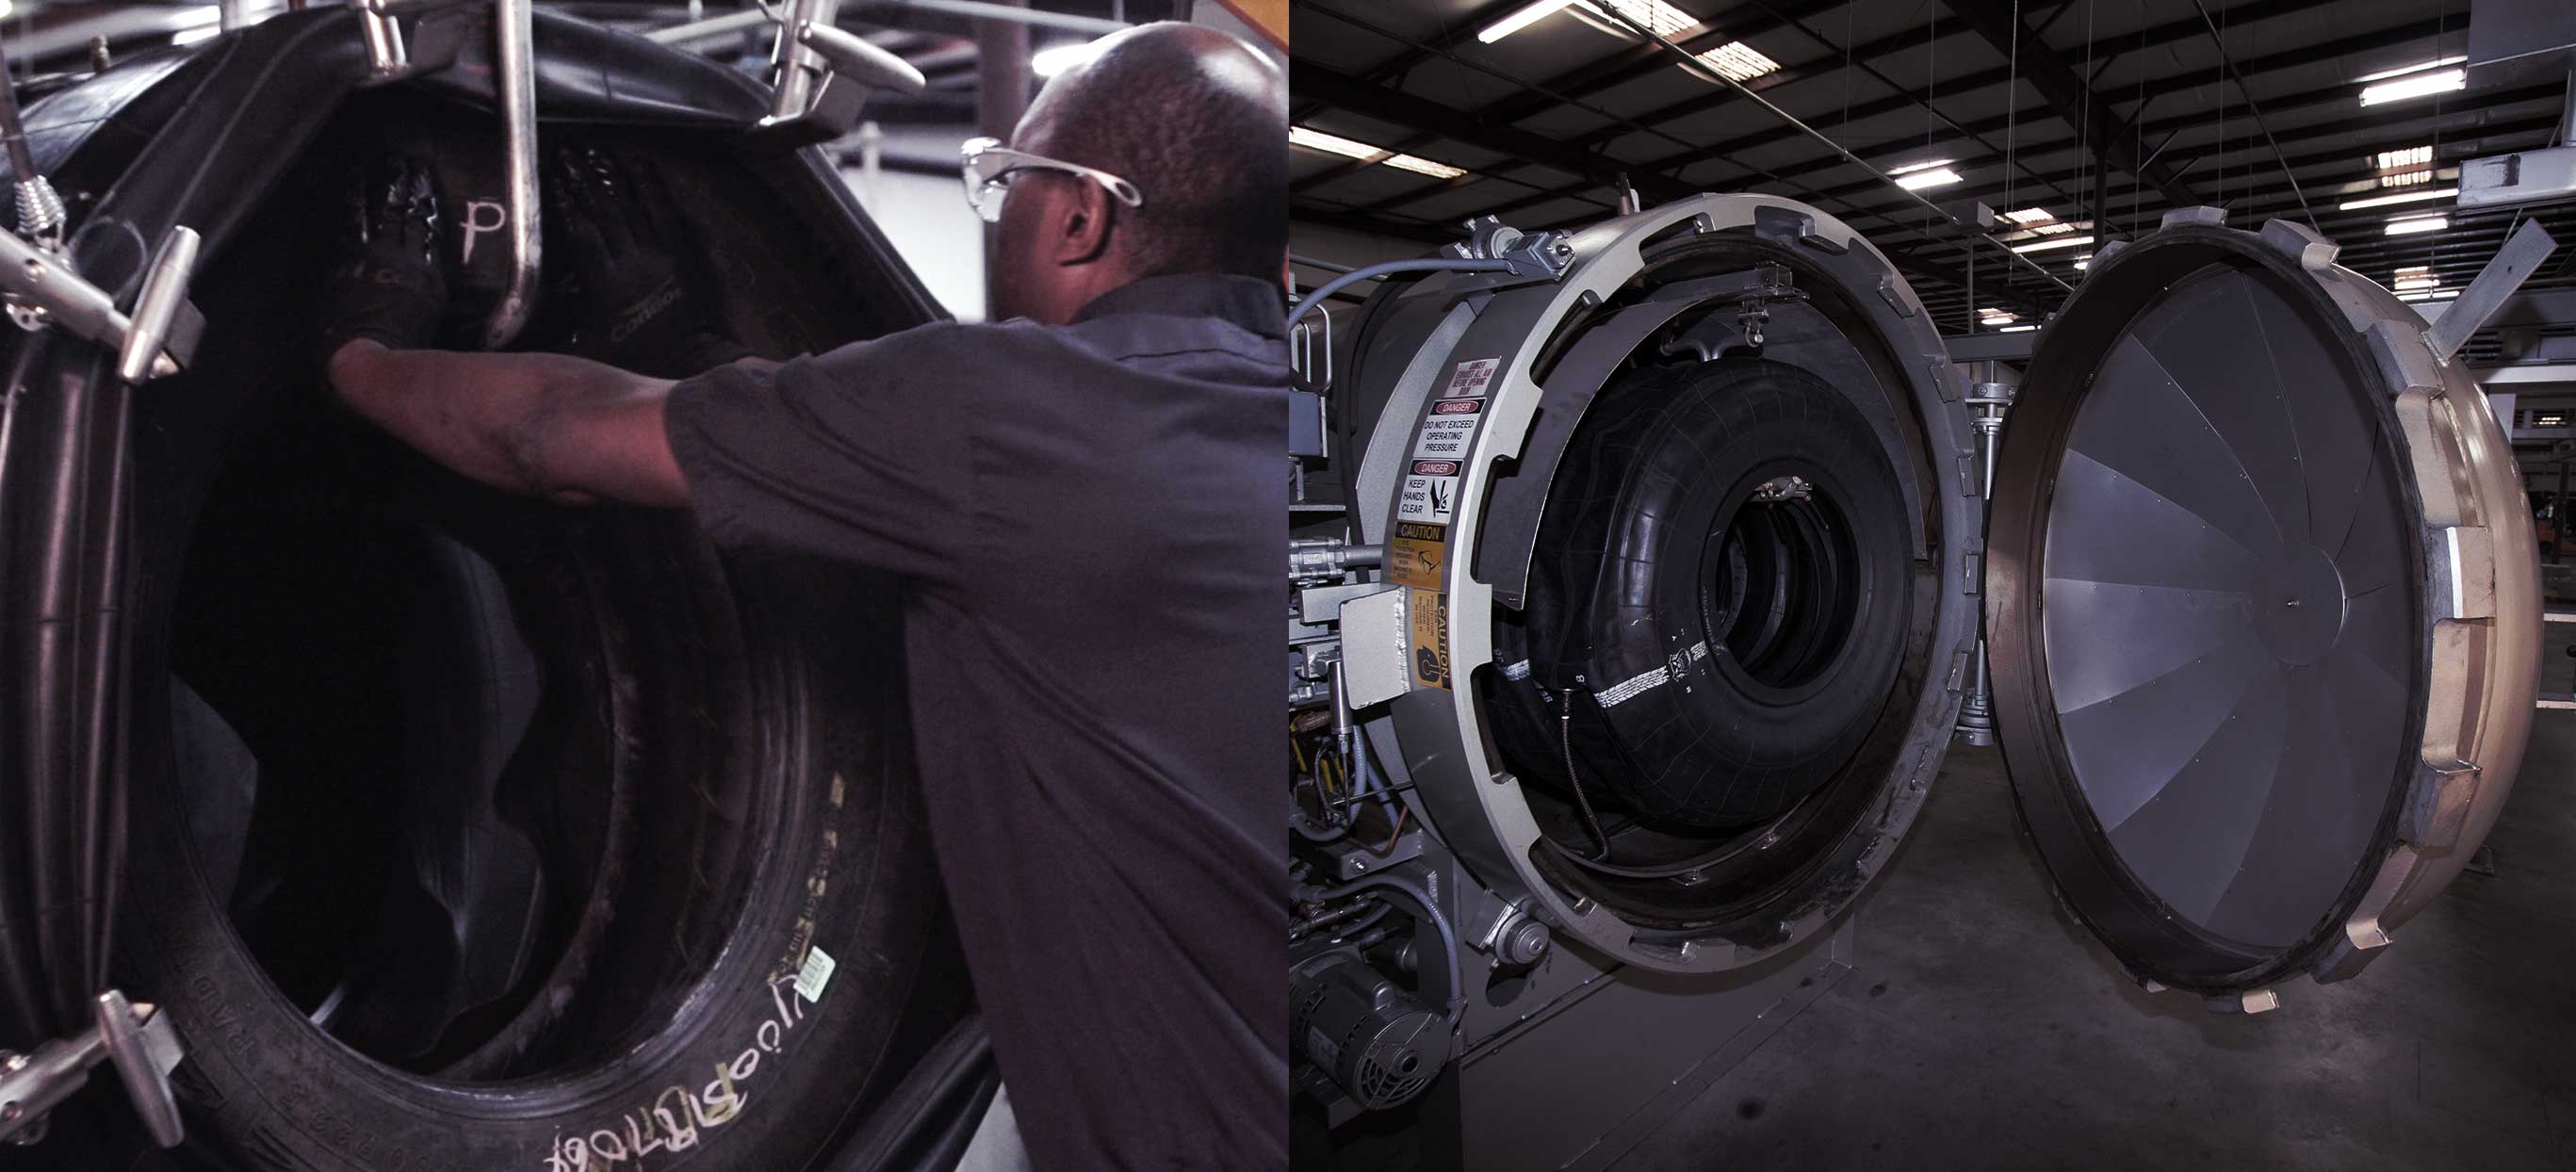
1| Inspection Station
Oliver retread technicians are known for their intense analysis. They inspect every retread casing manually from bead to bead with diligence and precision. Each casing also undergoes electronic nail hole detection to ensure no damage is overlooked. If a repair is needed, that casing is sent to the Repair Station.
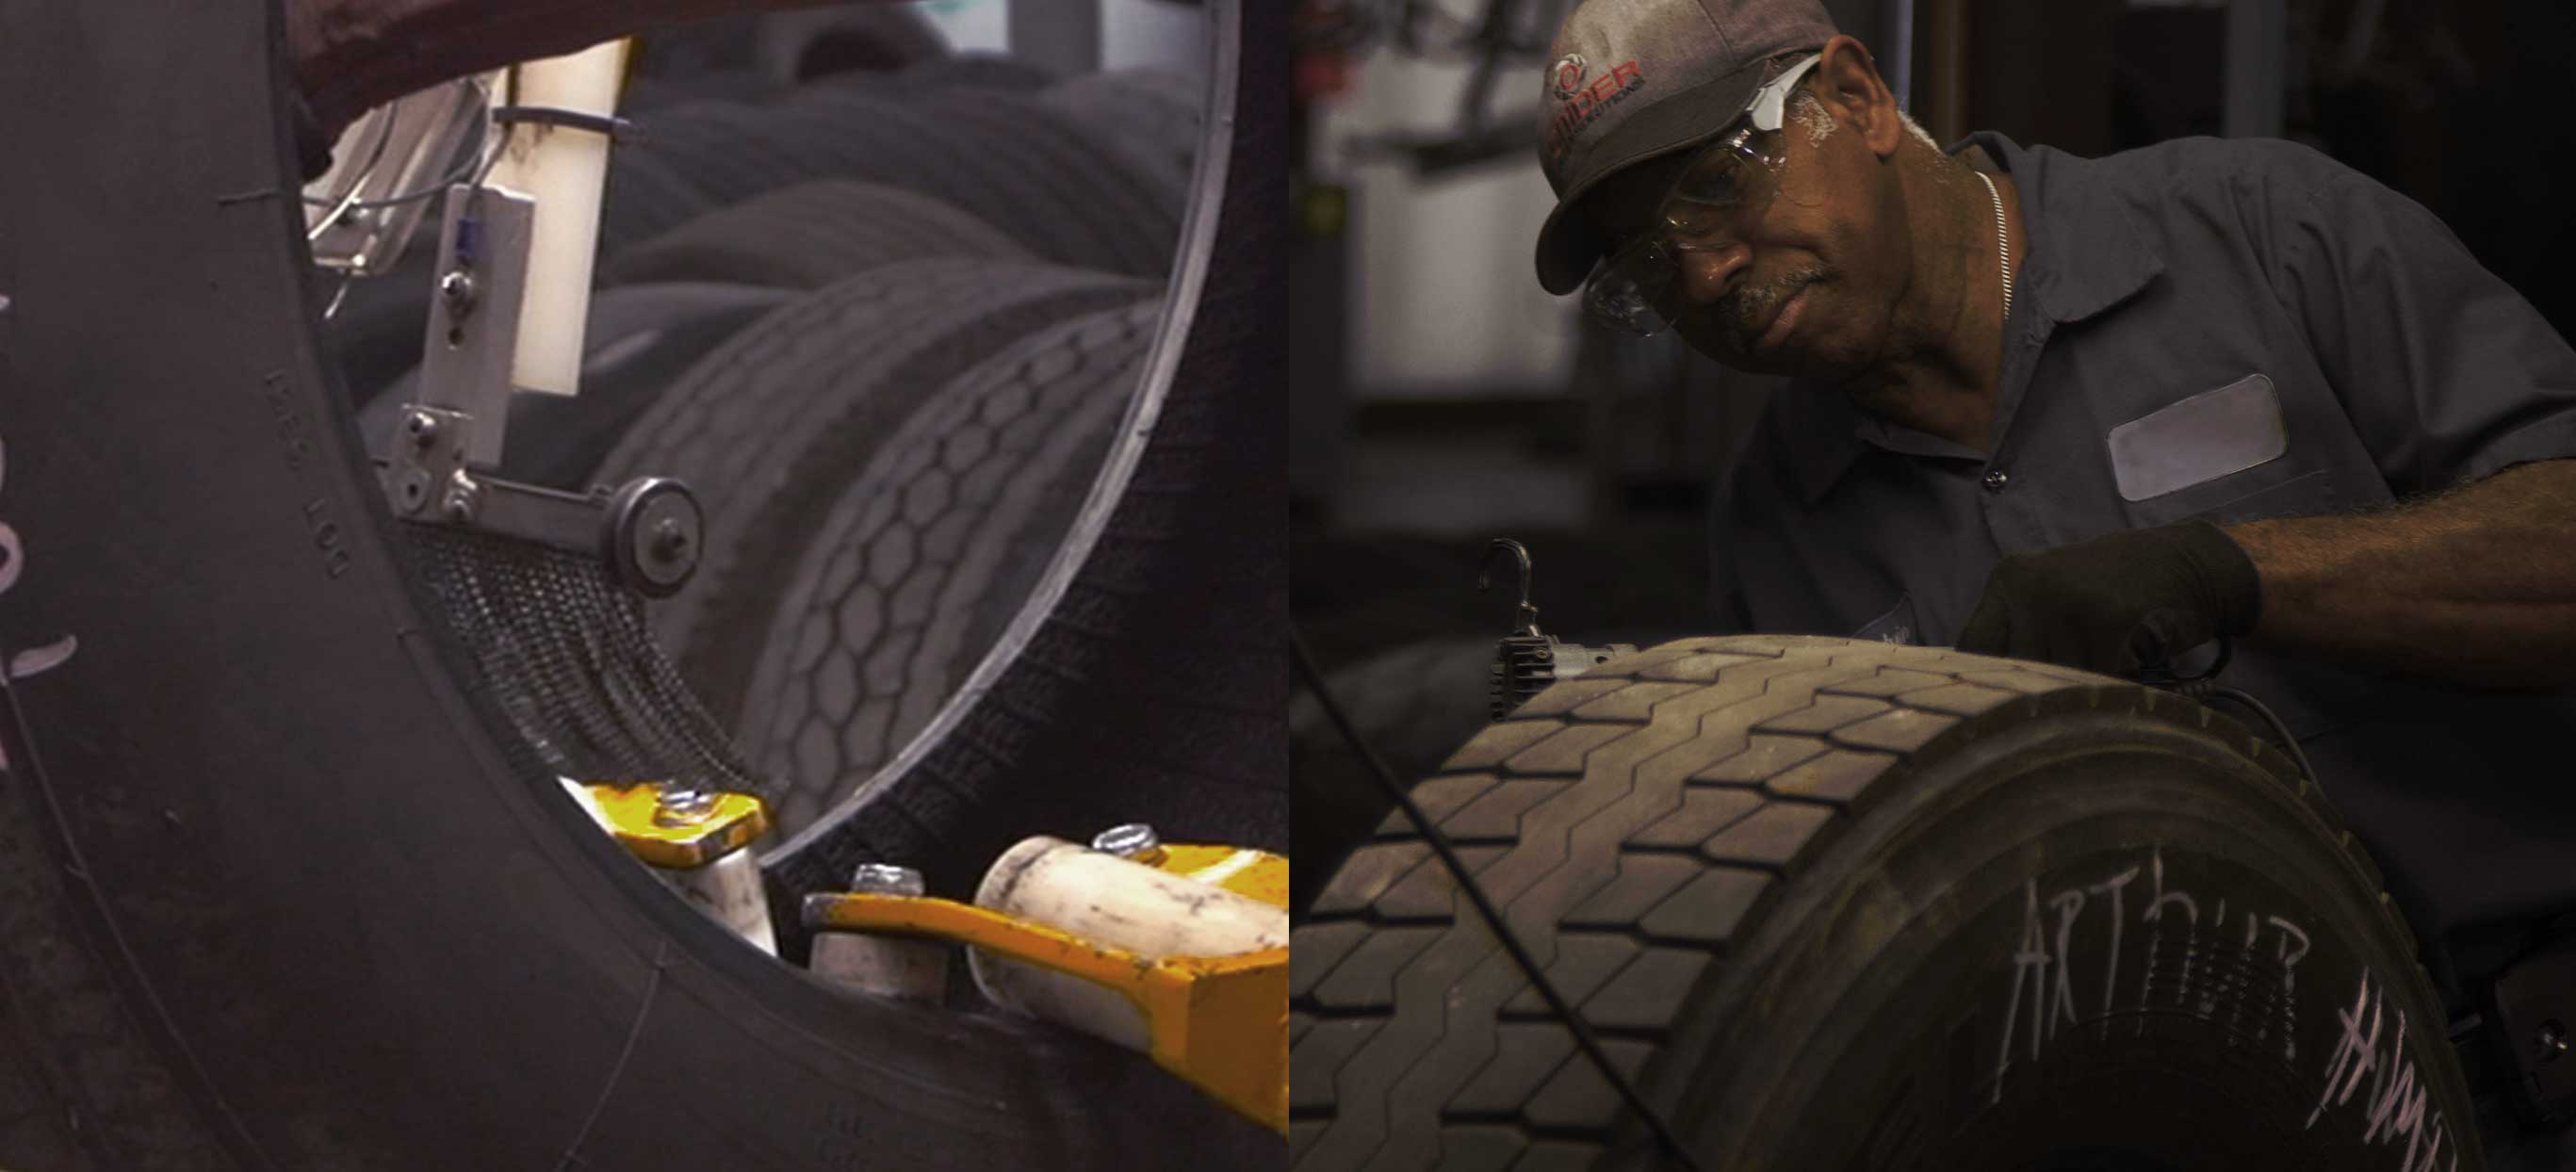
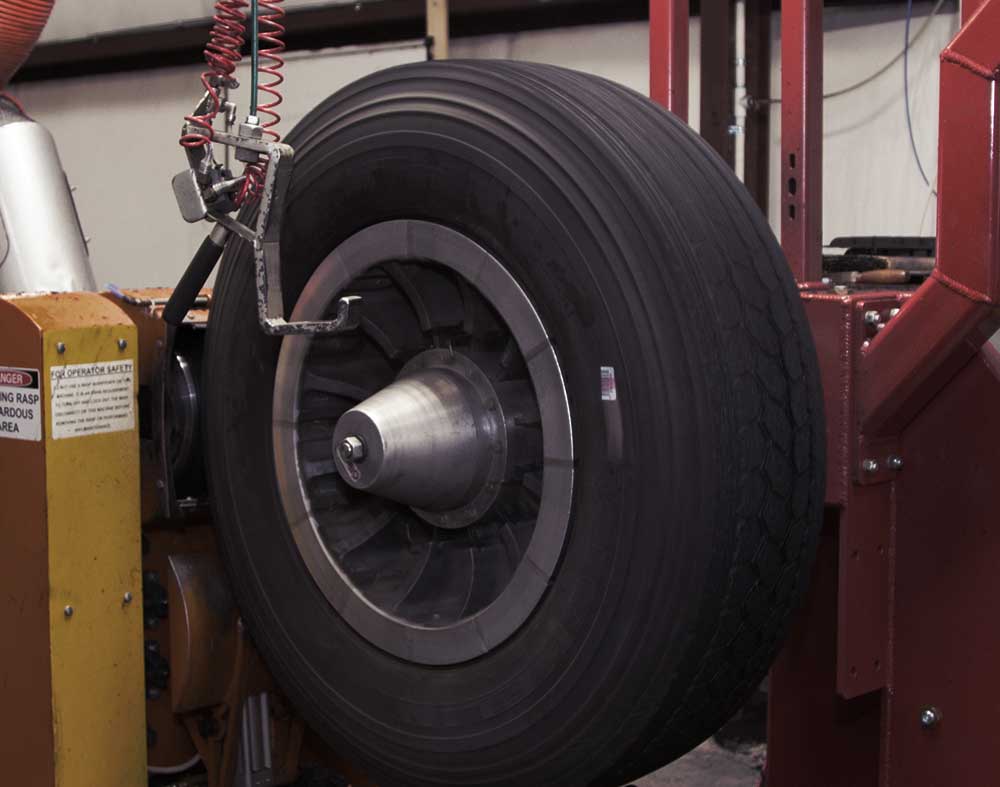
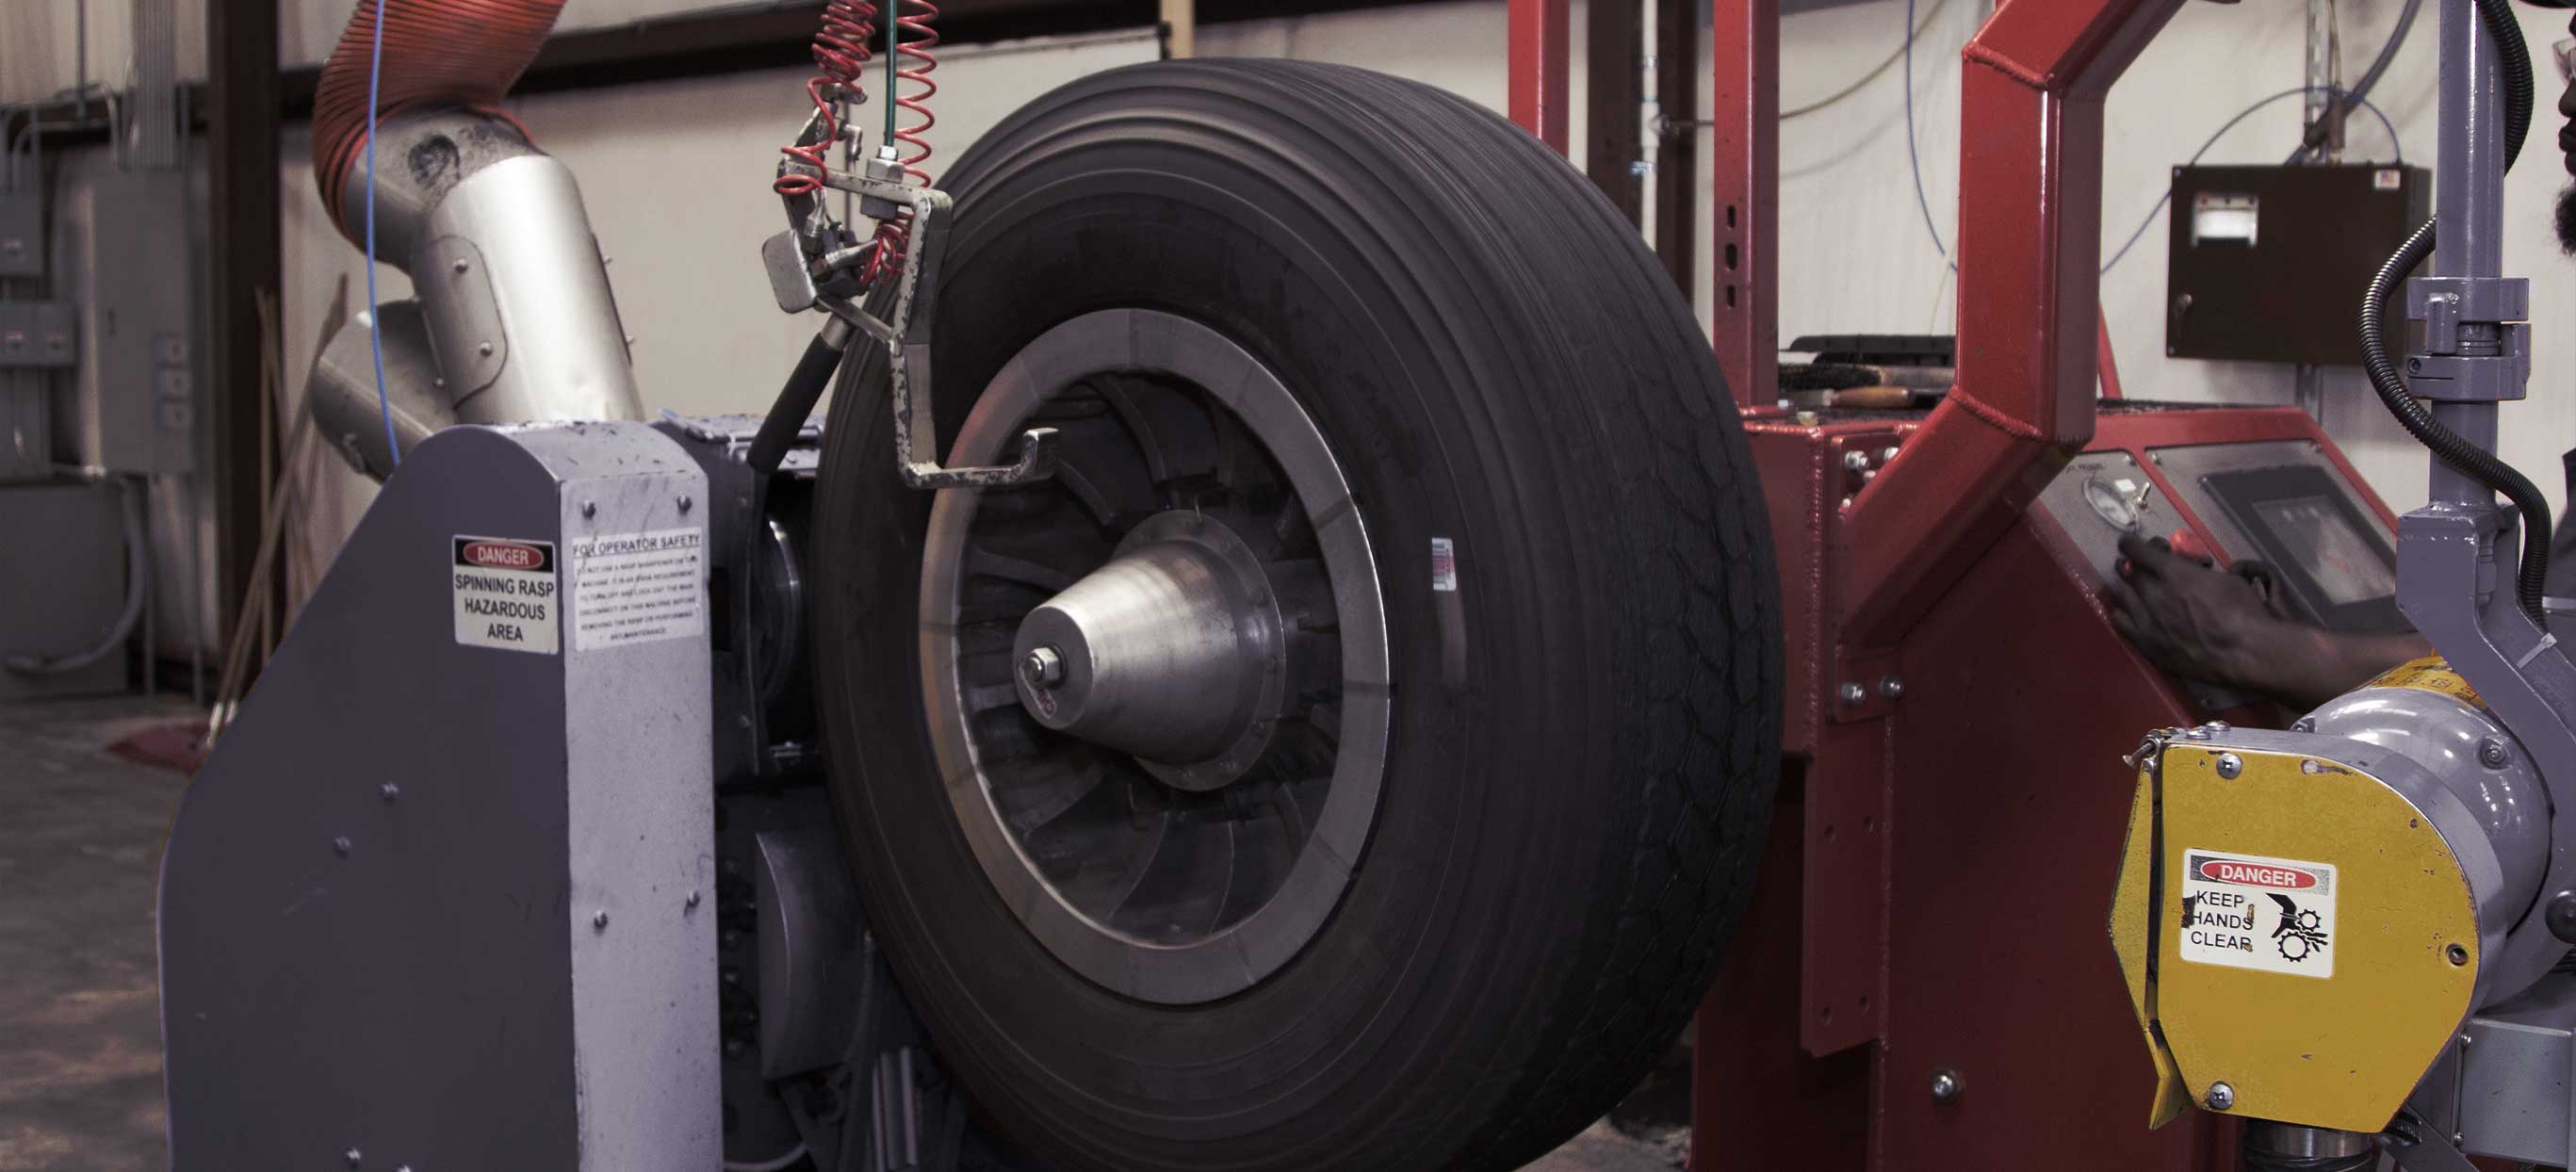
2| Buffing Station
Our goal in the Buffing Station is to create top-quality tread-building through proper texturing and uniformity, ensuring the tread bonds with the casing for superior strength and long tread life. This is what our customers have come to expect. We do this by inflating the casing to its operational shape and then "buffing" out the worn tread thoroughly with computer-aided precision.
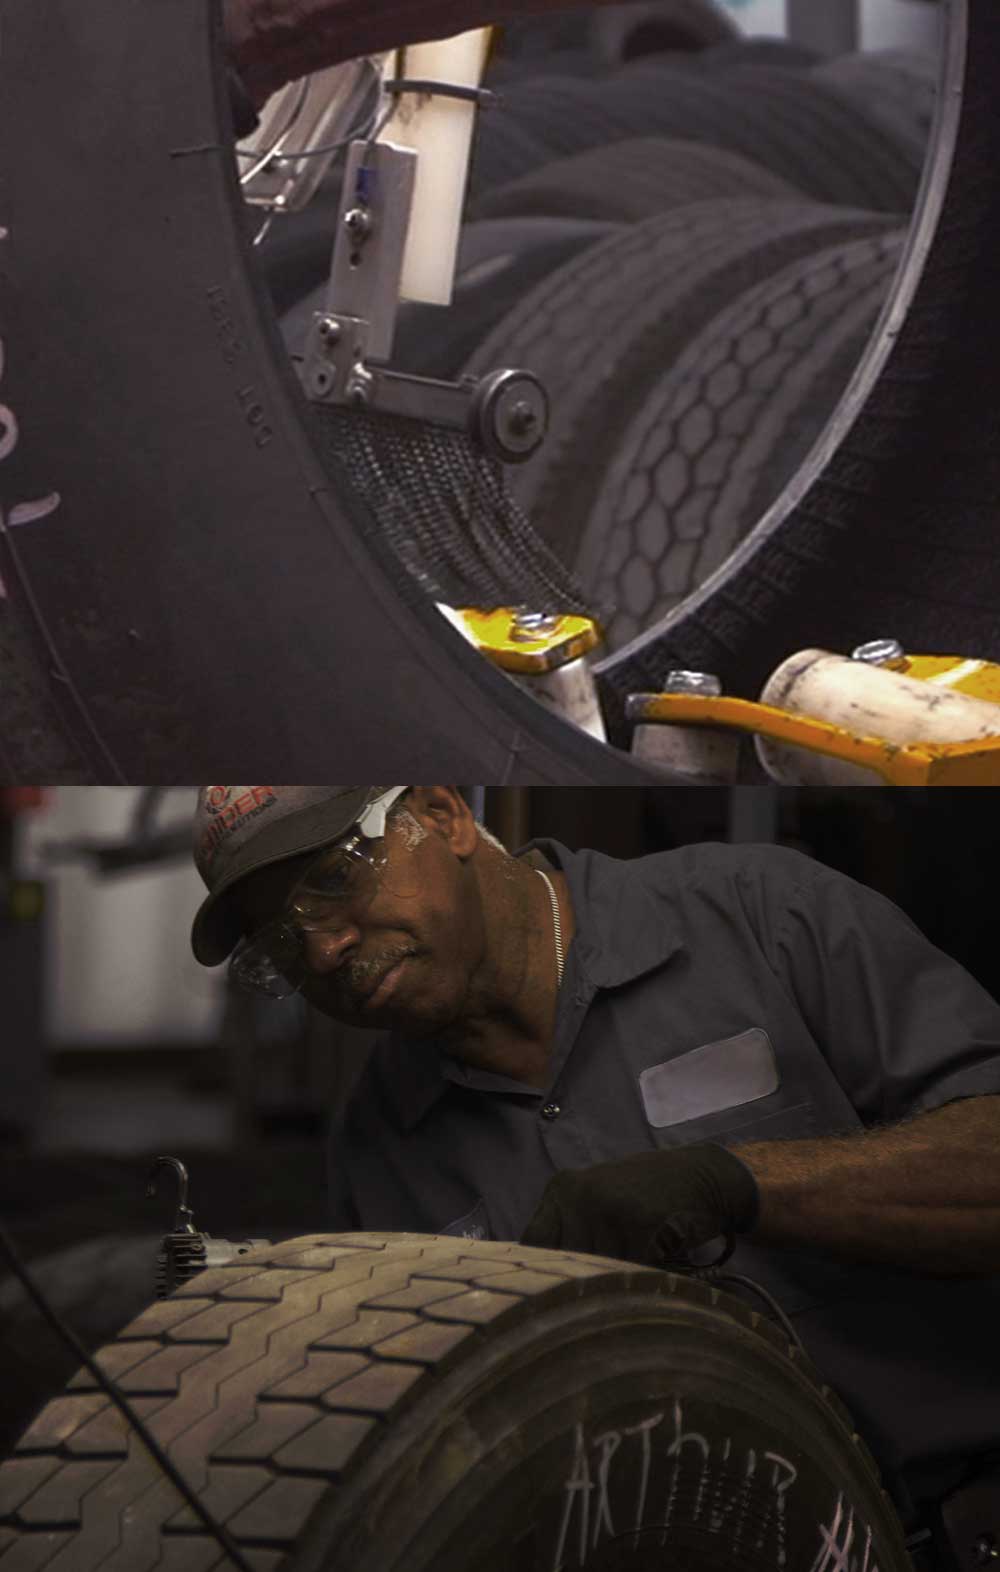
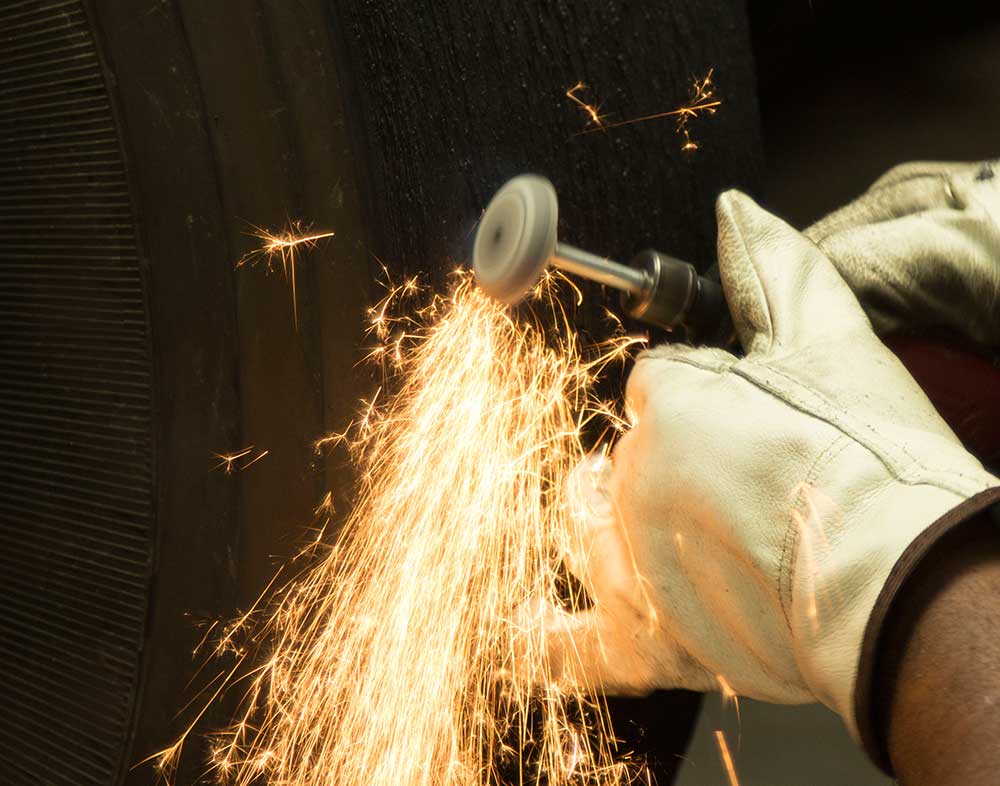
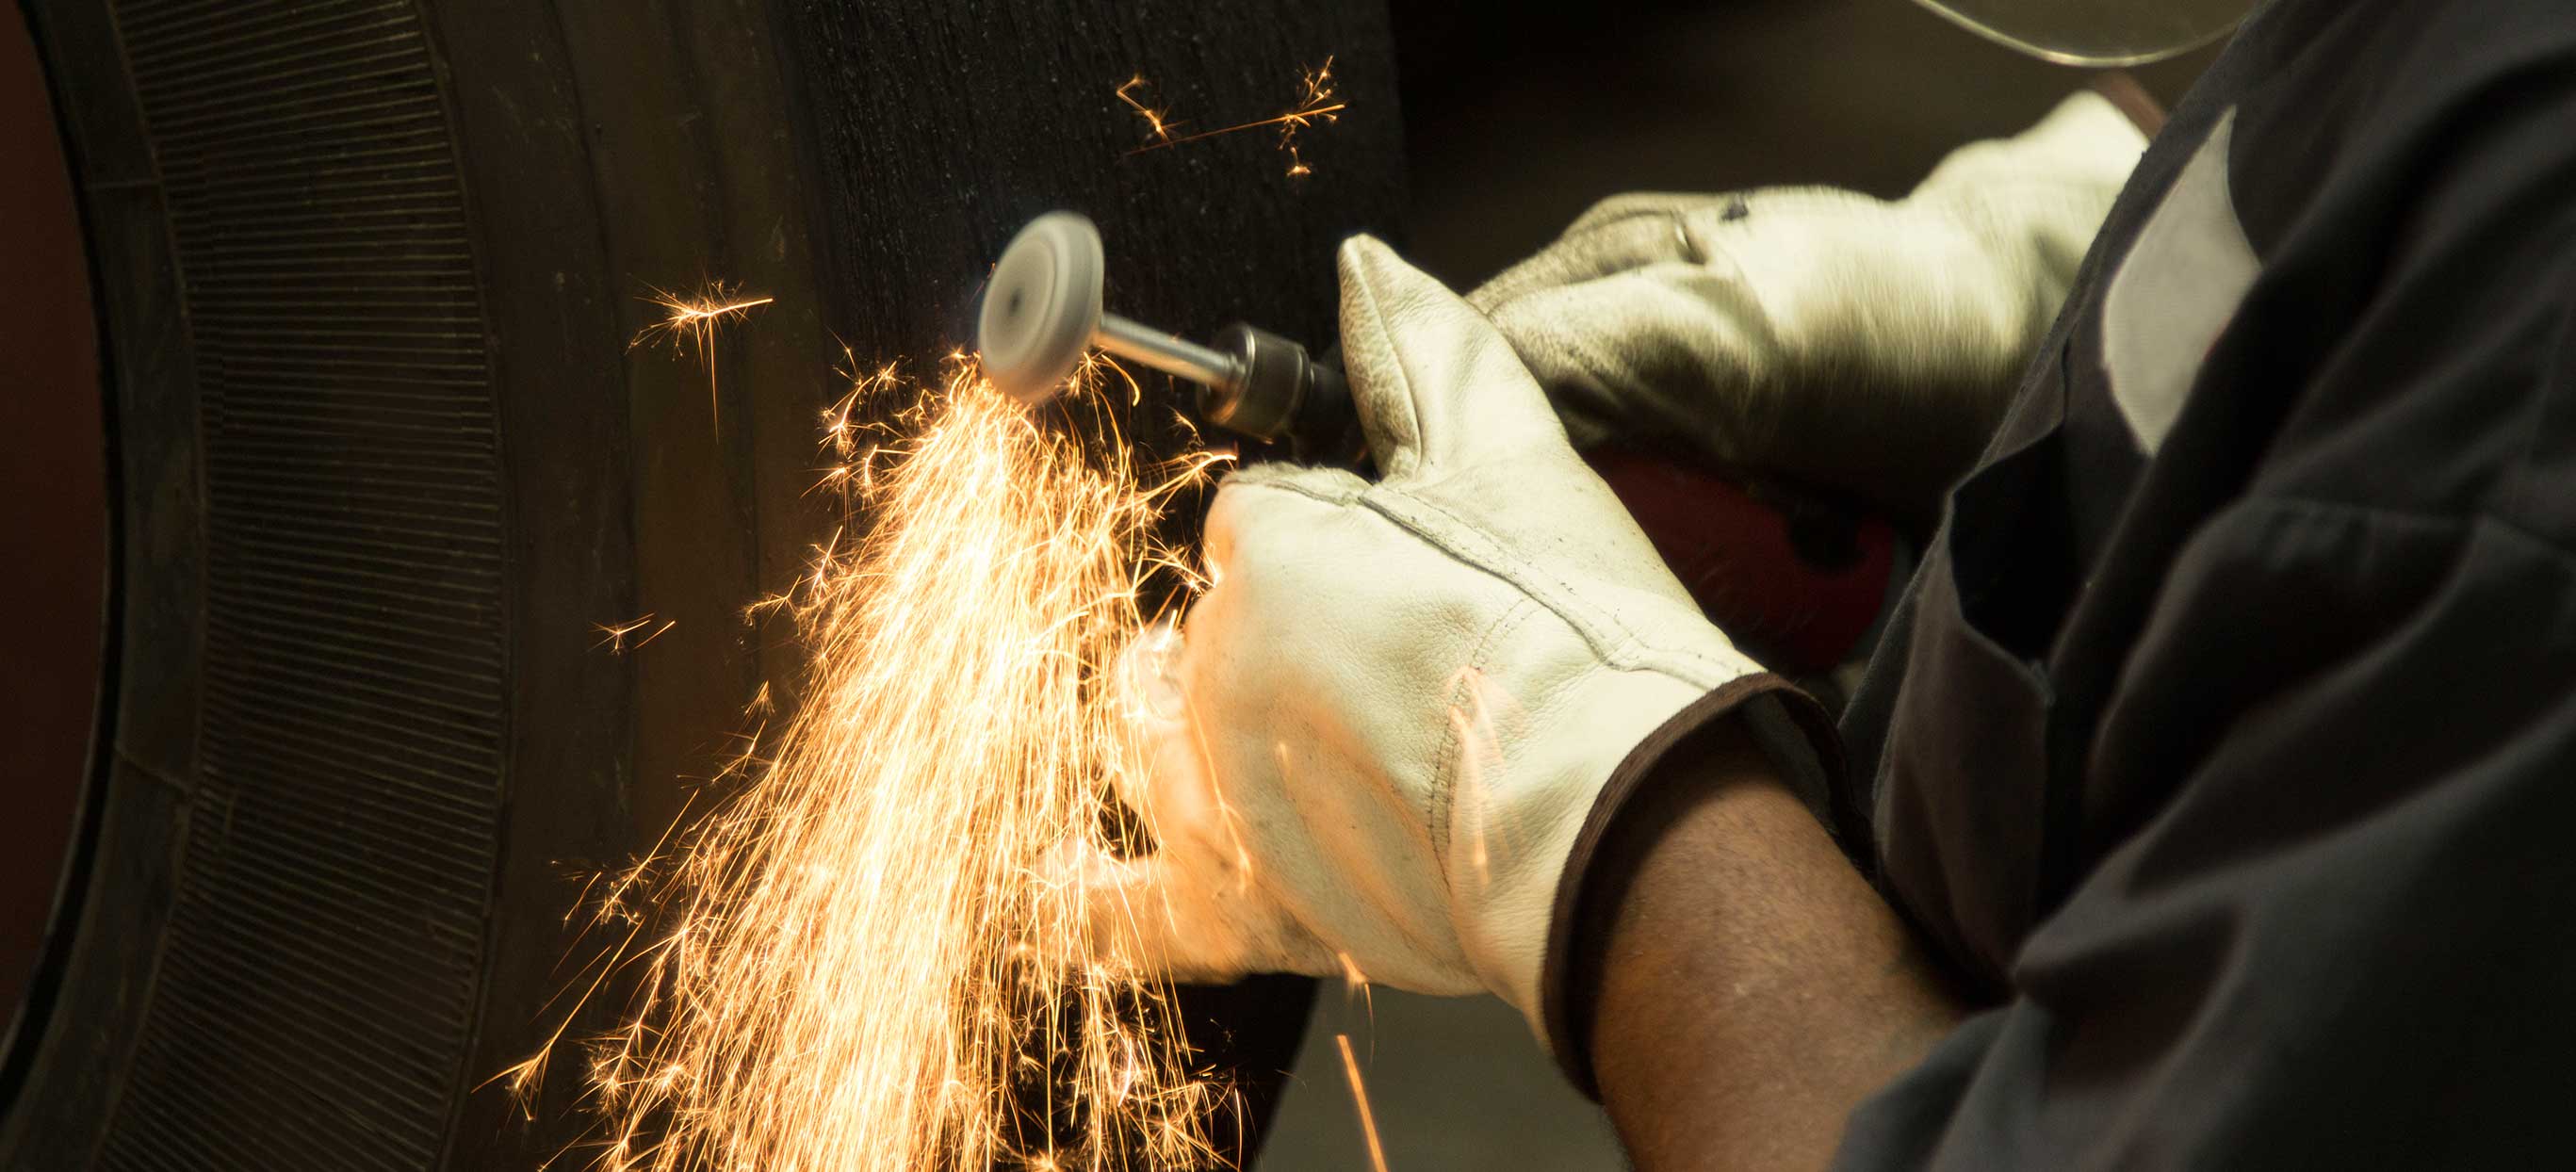
3| Repair Station
Casings in need of repair are sent to our Skive and Repair Station. Here, they are repaired thoroughly and efficiently from crown to interior by Oliver technicians, so the casing leaves in a top-quality operational state for our Tread Building Station.
4| Extrusion Station
Our innovative extruder machine ensures that the uncured cushion gum rubber is placed upon the casing with uniform thickness. The extruder machine can adjust to the width of the tire, allowing us to retread more tires per hour. The cushion gum rubber is now ready to accept the tread in the tread building station.

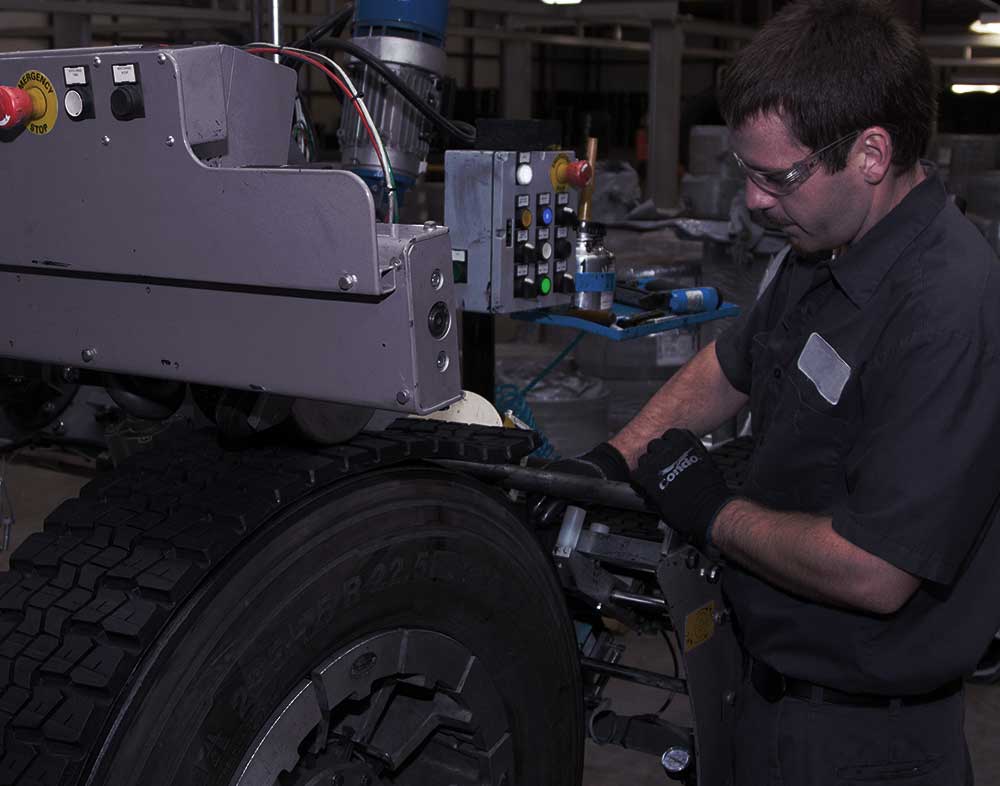
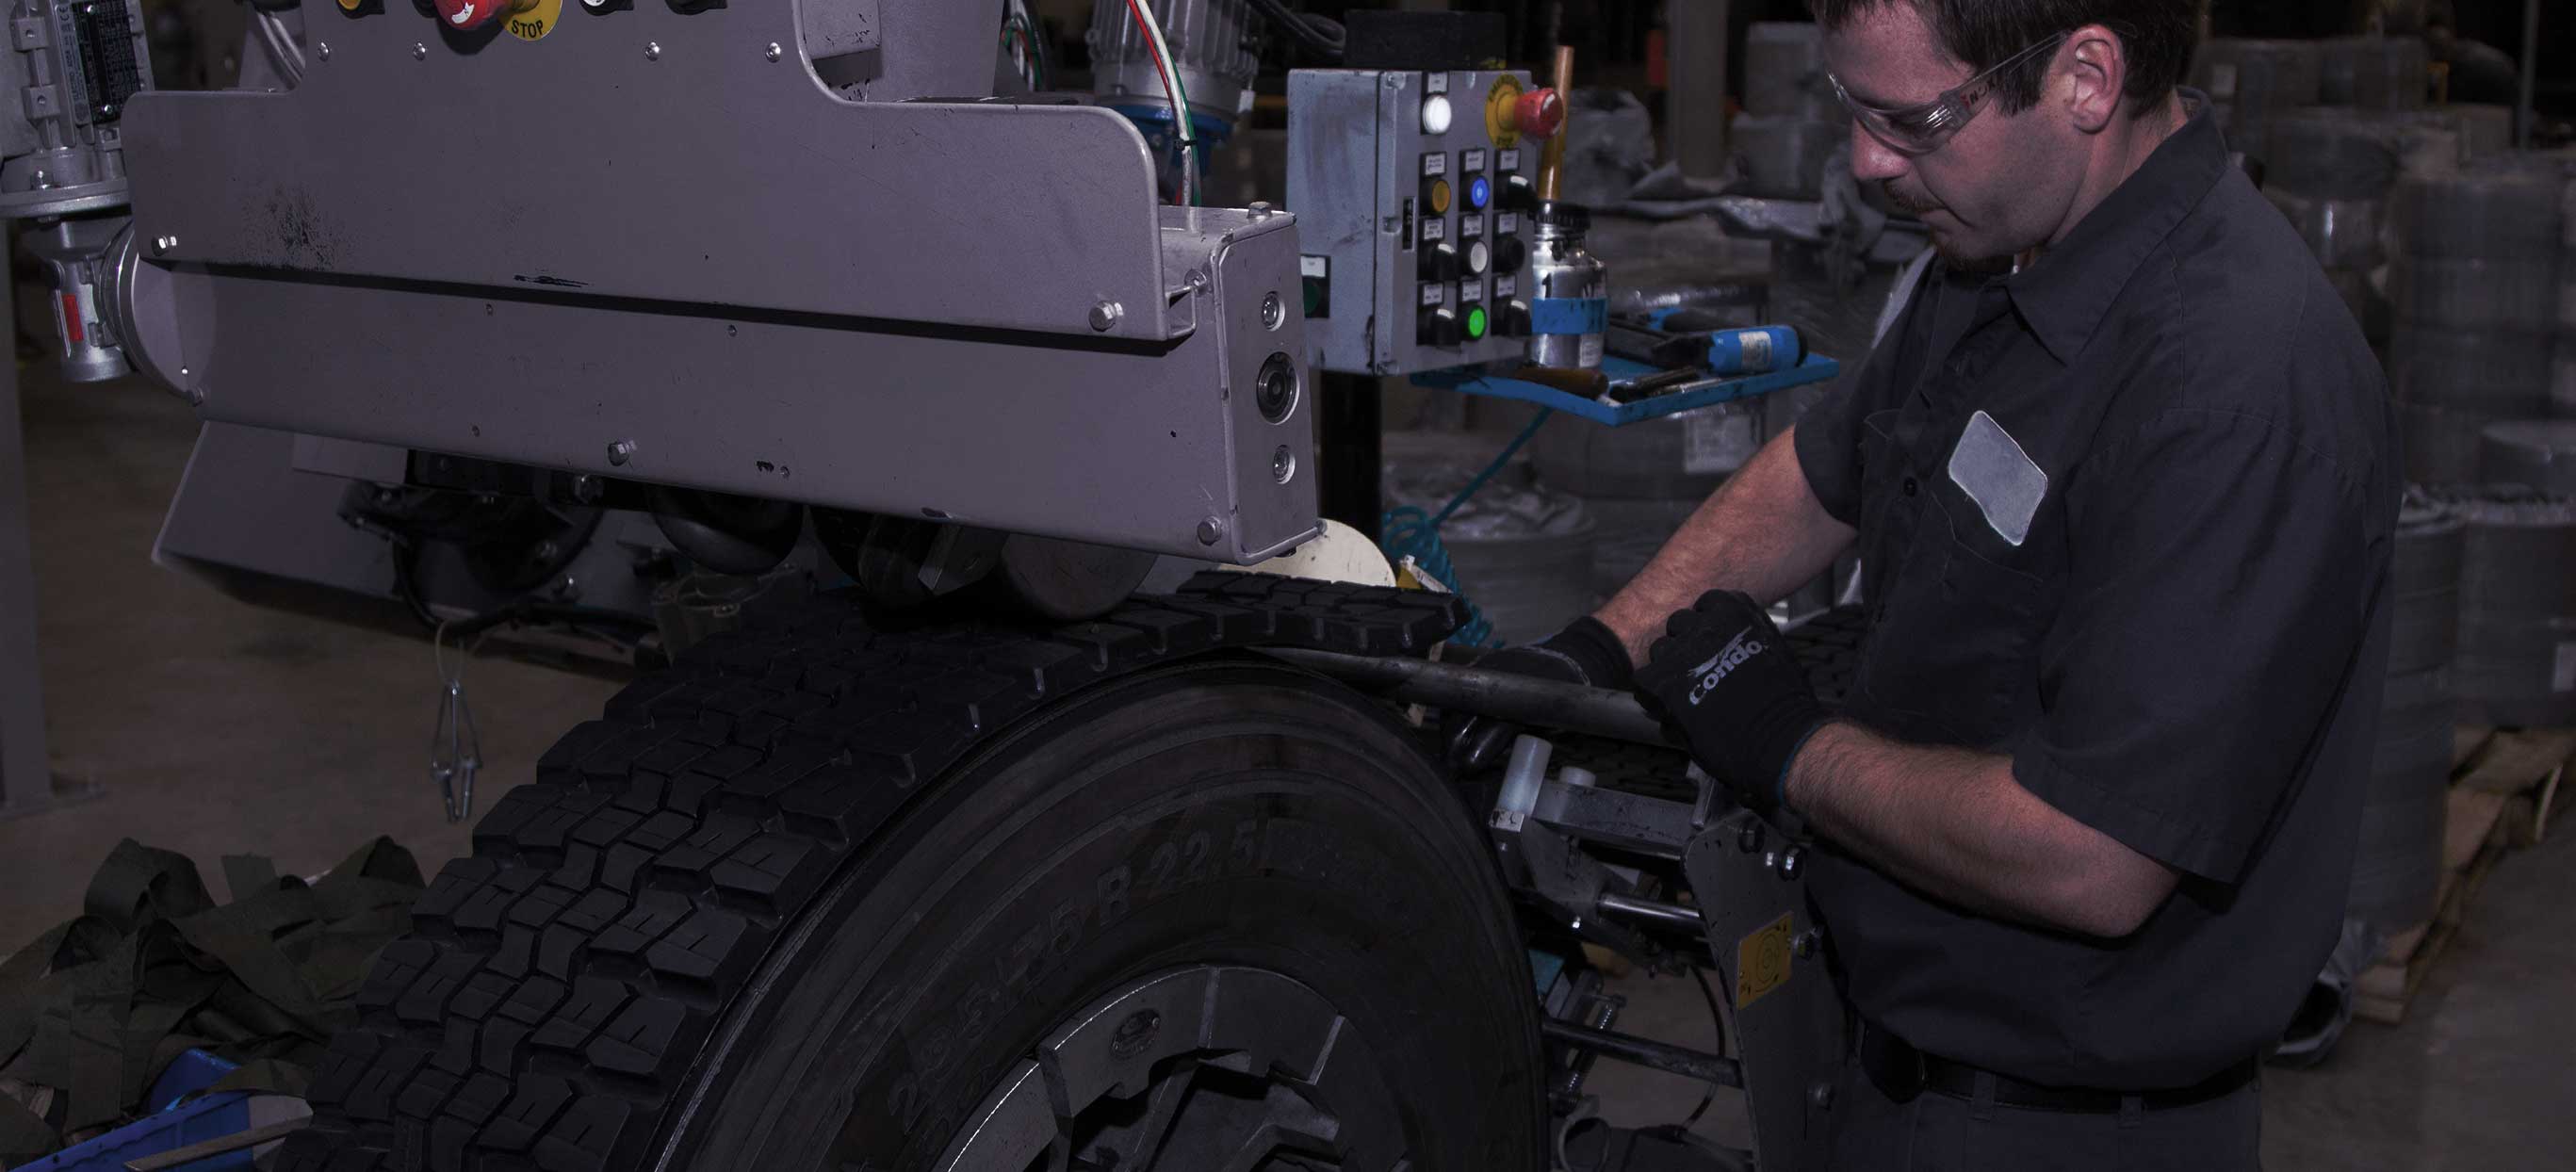
5| Tread Building Station
Precured tread is now applied to the casing. The Oliver tread building machine utilizes exact casing measurements to ensure precise tread application. After the tread is applied, the tire moves to the enveloping and curing step.
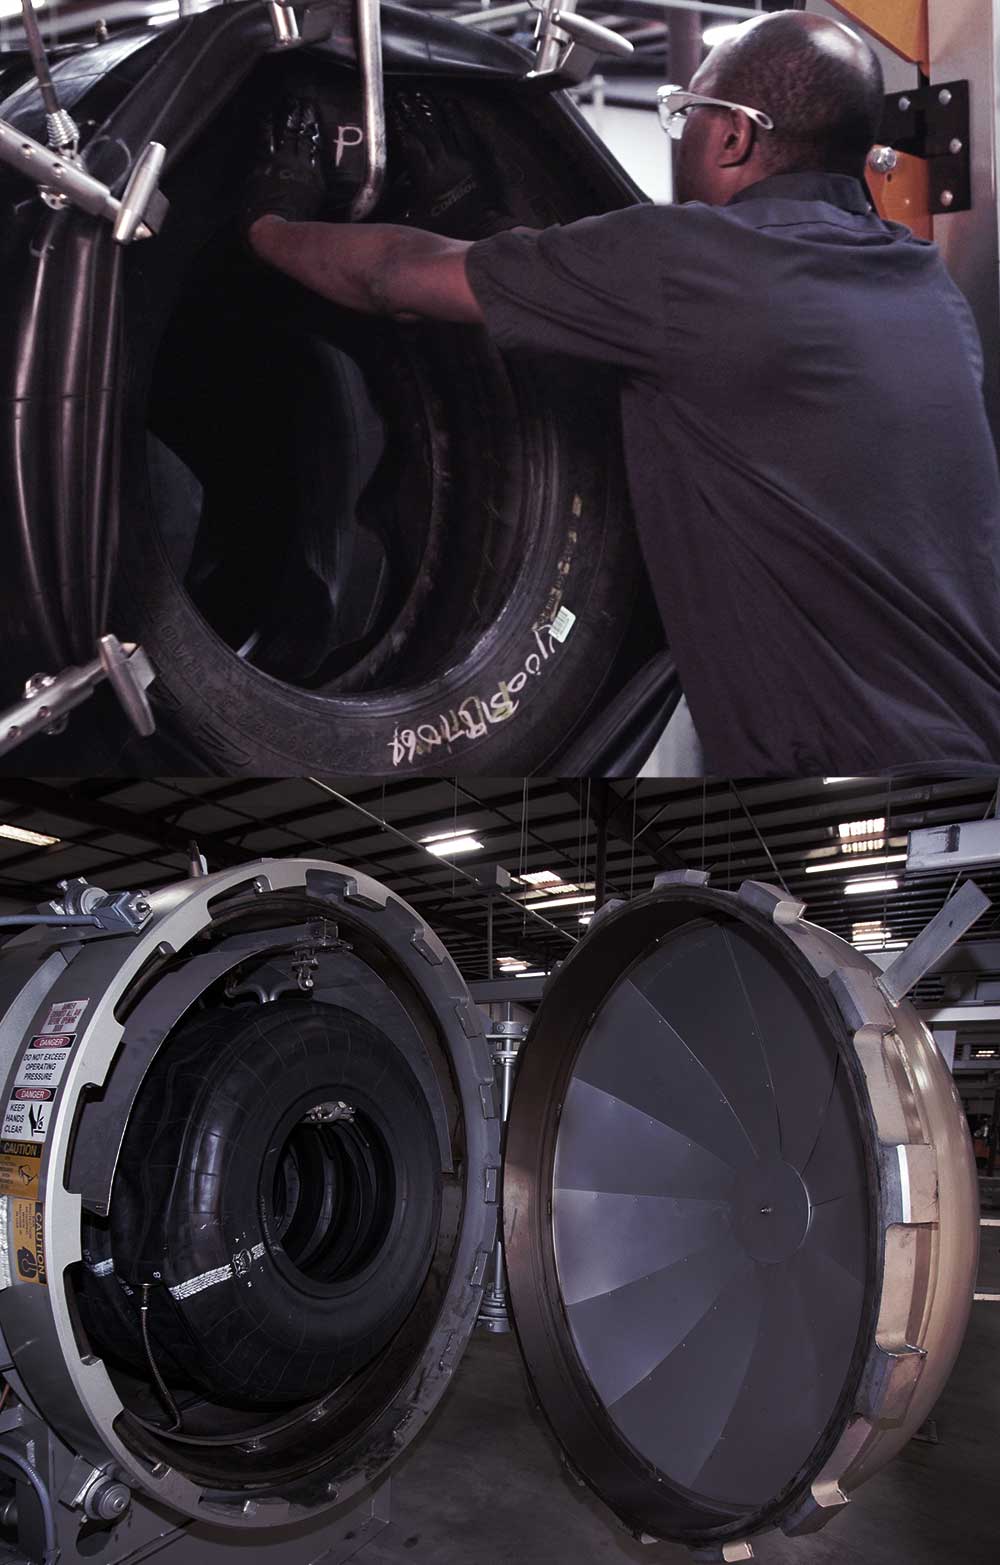
6| Enveloping & Curing
Before a tire is cured, it first receives a curing envelope to ensure temperature and pressure uniformity in the curing chamber. The tire is then cured in a proprietary Oliver curing chamber to exact Oliver specifications of time, temperature and pressure, depending upon the tread selected. The result is industry-leading retread uniformity.
7| Final Inspection
Each Oliver® retread starts with a thorough inspection and ends with a thorough inspection. No tire leaves the plant without undergoing a detailed, hands-on inspection by an expert Oliver technician. This technician inspects the crown, beads, sidewall and interior to make sure every tire meets the high standards of Oliver quality and the high expectations of our customers.